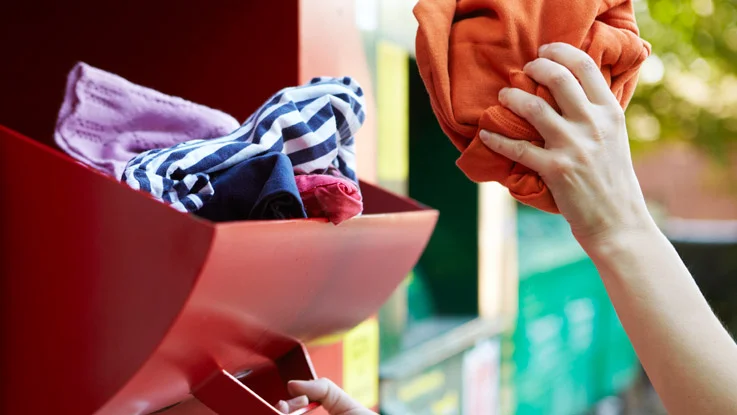
The 4-Point Plan for Properly Donating Old Clothes
There’s a right way to donate clothes. We like to imagine that charities are just thrilled to get our pre-loved items, even if they’re rumpled, covered in Fido’s hair and a little worse for the wear. I certainly thought the same thing, that is until I started working in the secondhand clothing industry and saw first-hand the haphazard way that many people donate clothes.
Without realizing the consequences, we are often donating items in ways that can land our donations in the trash, send their value plummeting and make a lot of extra work in an industry where the work is hard and the pay is low. So, I’m here to reveal how to taking a few easy extra steps can ensure your unwanted clothes get the second life they deserve. Follow these simple rules and you’ll be doing the planet and the good folks at your local clothing donation center an immeasurable favor.
1. Clean
Even if you’re donating clothes that are worn out or torn, always launder clothes before donating. It’s so important to donate clean clothes for a couple of reasons: The first is that other human beings have to handle your used clothes, sorting them and prepping them for resale. Your clothes will be touched by multiple people and handled extensively. Clean clothes is a show of respect for those people who work in the secondhand industry and are working to make sure your unwanted items get a second life. Secondly, shoppers are far more likely to buy used clothes if they are clean and smell clean. A donation center might actually trash your clothes if they have any sort of odor.
If you’re donating items that can’t be traditionally washed, like a heavy jacket, it’s okay to skip the washing phase (maybe touch it up with Febreeze) but make sure it has no distinct odors and you follow the next three steps before donating.
2. Emptied Pockets and All Lint, Hair, and Detritus Is Removed
For all the aforementioned reasons, remove all lint, hair, and detritus from your donated items. Clothes accumulate pills, lint and hair with wear and it’s important to remove every last one of them if you hope for someone else to wear your items. Buy a cheap lint roller or sticky pet hair remover , as these are the fastest way to remove lint/hair but you can also use a roll of packing tape. In general, don’t assume a charity or donation center will make the effort to remove hair or lint from your item. They’re much more likely to toss your item instead.
3. Repaired
Yes, this one takes a little time but there are a few basic and cheap or free repairs that anyone with any sewing skill level can make to their clothing before donating. Damaged clothes either get landfilled or down-cycled, which is why it’s so important to make simple repairs whenever possible before donating. The first repair is to tighten any loose buttons that are hanging off. If you’ve lost a button, check on the inside lining of the garment to see if there’s a spare. Even without sewing skills, it’s easy to match the way the other buttons are sewn on. The second is to buy a cheap fabric shaver (Conair, $14.99) and remove excessive pilling from sweaters and jackets. Knitwear pills naturally and removing these pills is easy. Third is make an attempt to remove stains. Stains are much easier to lift when fresh but it never hurts to take another crack at a stubborn mark on your clothes.
Last of all, if you’re donating a jacket, consider having the item professionally repaired if it has a broken zipper or ripped lining. A good jacket is pricey but can last forever in the secondhand market with a little TLC and basic repairs.
4. Neatly placed into a bag
Don’t throw donated clothes into a bag in a heap. Neatly fold and stack them instead. This keeps them from getting excessively wrinkled. Most charities place your donated items directly onto the sales floor without ironing or steaming. For your item to have the best possible chance of selling and finding a second owner, donate them folded and thus wrinkle-free.

